Category: Refit

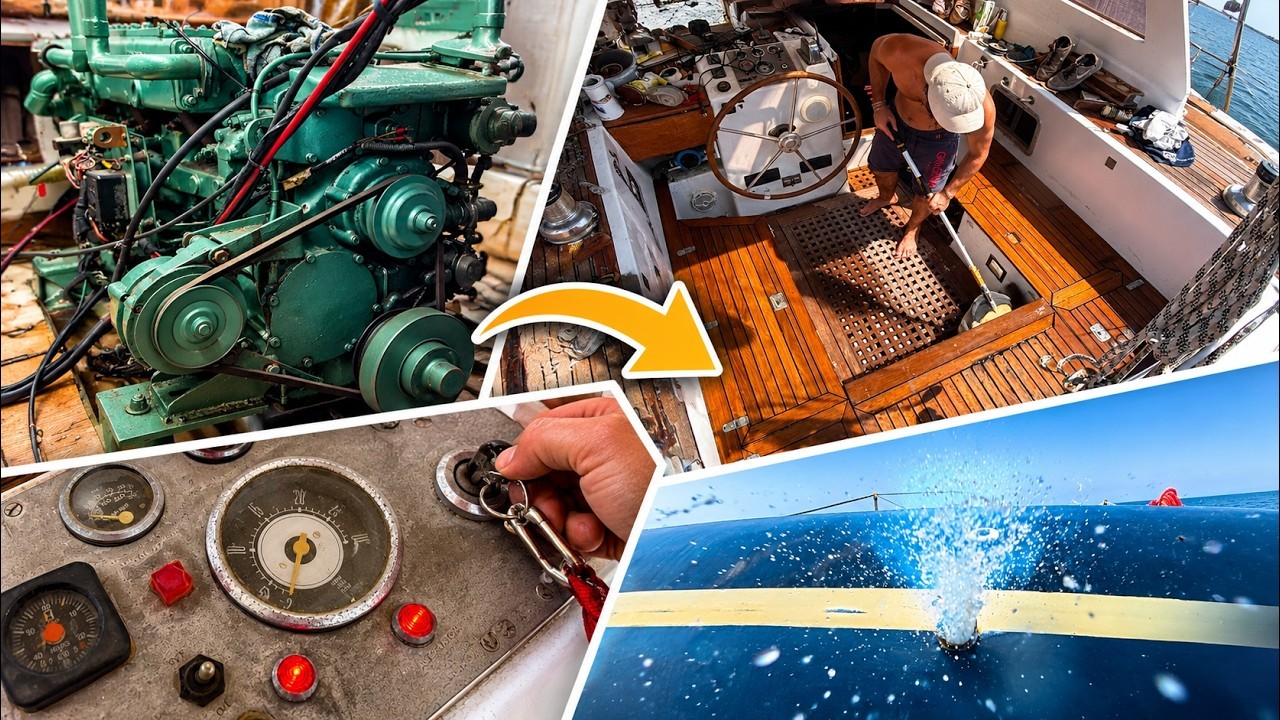
  • The engine runs, the teak lives again, the ceilings come down

    The engine runs, the teak lives again, the ceilings come down

    The video is in French. The full write-up is in English below.

    End of summer. It had been a while since I had been down to the boat — too hot, and other things to sort out. Arthur is here, we give ourselves three days. On the list: a bit of plumbing, a bit of electrics, and above all one last go at the engine. Spoiler: the mosquitoes won the nights, but not the days.

    A screen to read the electrics at a glance

    First thing fitted over the weekend: a Victron GX Touch, the screen that goes with the Cerbo GX. Wiring it takes no particular skill — one HDMI and one USB, and that is it. It configures itself.

    What you get in real time: state of charge, instantaneous consumption, and above all both battery banks at once — engine and house — because they are linked by VE.Direct rather than Bluetooth. That is the condition for them to show up on the screen. At sea, being able to check the whole electrical system at a glance is worth what it costs.

    Reckon on €230 to €290 depending on the dealer. For now it is temporarily mounted: its final home is the chart table, and there is still an HDMI cable and a USB extension to run.


    The engine runs

    That was the point of the weekend, and the last chance I was giving it. I had found the fuel filter again, perfectly clean, ready to fit. Getting the old connectors off took some persuading — and the hammer, which is honestly still the best tool mankind has invented. Once the right sleeves were free, it all goes back together directly.

    The diesel is there, we prime with the hand pump, the pressure comes up. First try: nothing. Second: nothing. Third: still nothing. And then, just as I was about to call it a day, it fires.

    We shut it down and tried again from cold, to be sure. It starts instantly, no suspicious noises, good pressure, no overheating. On that point at least, what we were told at the sale was true.

    One thing still to sort out though: the stop button does not shut the engine down. You have to go about it another way. That is the sort of thing you cannot leave as it is before going sailing.


    The teak lives again

    Arthur took on the cockpit: sanding, then the protective treatment. The result is striking — you would swear the planks had been replaced. Treated wood next to bare wood leaves no room for doubt.

    We deliberately started on a small area. The idea was to see what it looked like before deciding whether to do the whole deck the same way. Going by the result, that question is half answered.


    The ram, fixed with 3D-printed bolts

    The famous steering ram. The problem was not the part, it was working out the right thread. The method was a bit homespun: I 3D-printed several bolts with different threads until I found the right one, then ordered the real parts.

    Dry fit first, then final tightening with PTFE tape. The fittings are in, the ram is back on its mounts. All that is left is to get oil into the circuit.


    The ceilings come down, and what is behind them

    If there is a screw, we undo it. The ceiling came down and gave up its secrets: of the eight cables running through it, six were already cut. One HDMI socket rusted to the core. And a quantity of wire that serves absolutely no purpose.

    A good surprise on the other hand: there is an NMEA 2000 network in place, and it is rather tidy. For this boat, that is almost startling.


    The seacocks, nearly done

    One Trudesign valve was already fitted and two were missing: they are on. The full plumbing will have to wait — I do not have the right hose sizes, I need 19 and 22 mm. The main line is connected though, with a Y to split the suction. I also refitted the sink with a fitting made on the spot and a Y-joint on what we broke last time.


    A question for anyone who knows

    One mystery we did not solve: we do not know where the shower water goes. The shower sits below the level of the black water tank, no pump kicks in when you use it, and there is no dedicated skin fitting to drain it.

    If you have come across this arrangement on a boat of this generation, we would be glad to hear it. In the comments under the video, or straight to us by email.


    What we take from it

    The engine starts, the ram is fixed, the teak has its colour back, the seacocks are moving along. We wrapped the weekend up a little earlier than planned: a big storm was coming in, and after three nights of being eaten alive by mosquitoes, the urge to sleep won.

    The boat is still a big untidy building site. But every item ticked off is one fewer before the departure, and every euro spent is set out on the budget page.

    To keep up with what comes next: the logbook, or the yard letter, once a month.
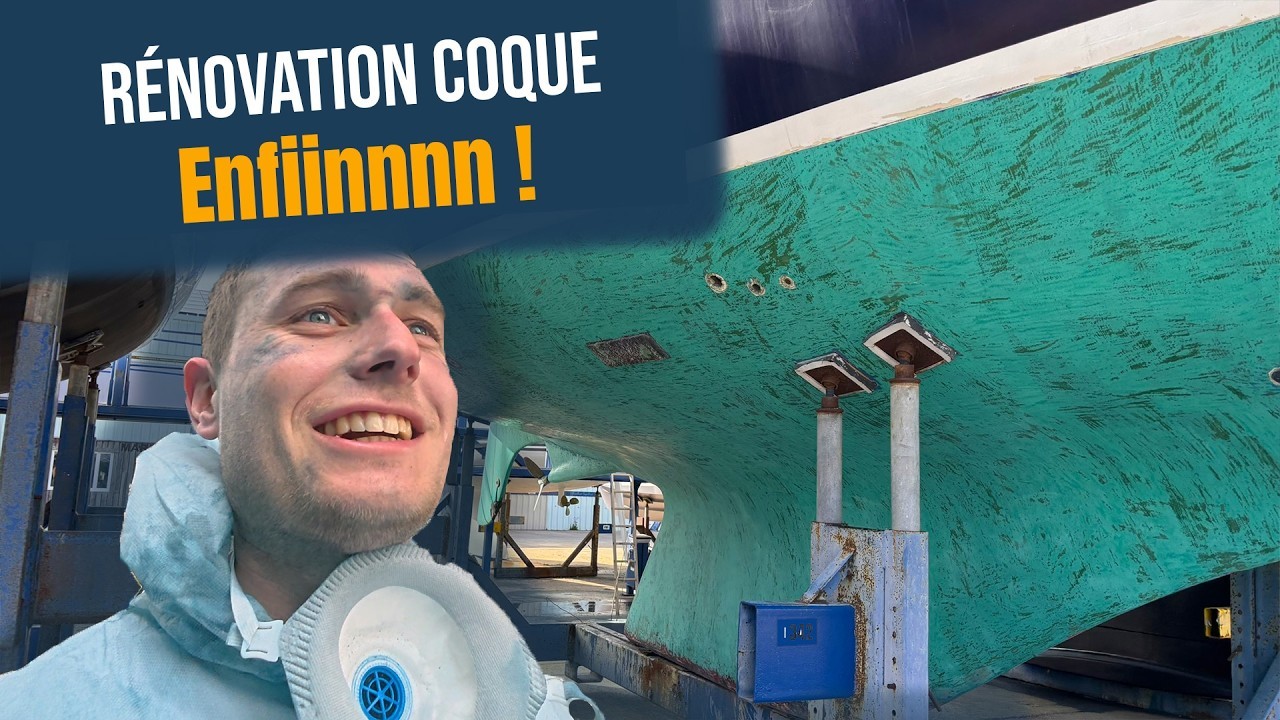
  • A weekend alone, a whole hull, and arms giving out

    A weekend alone, a whole hull, and arms giving out

    The video is in French. The whole job is written up in English below.

    There are weekends where you make progress. And there are weekends where you finish.

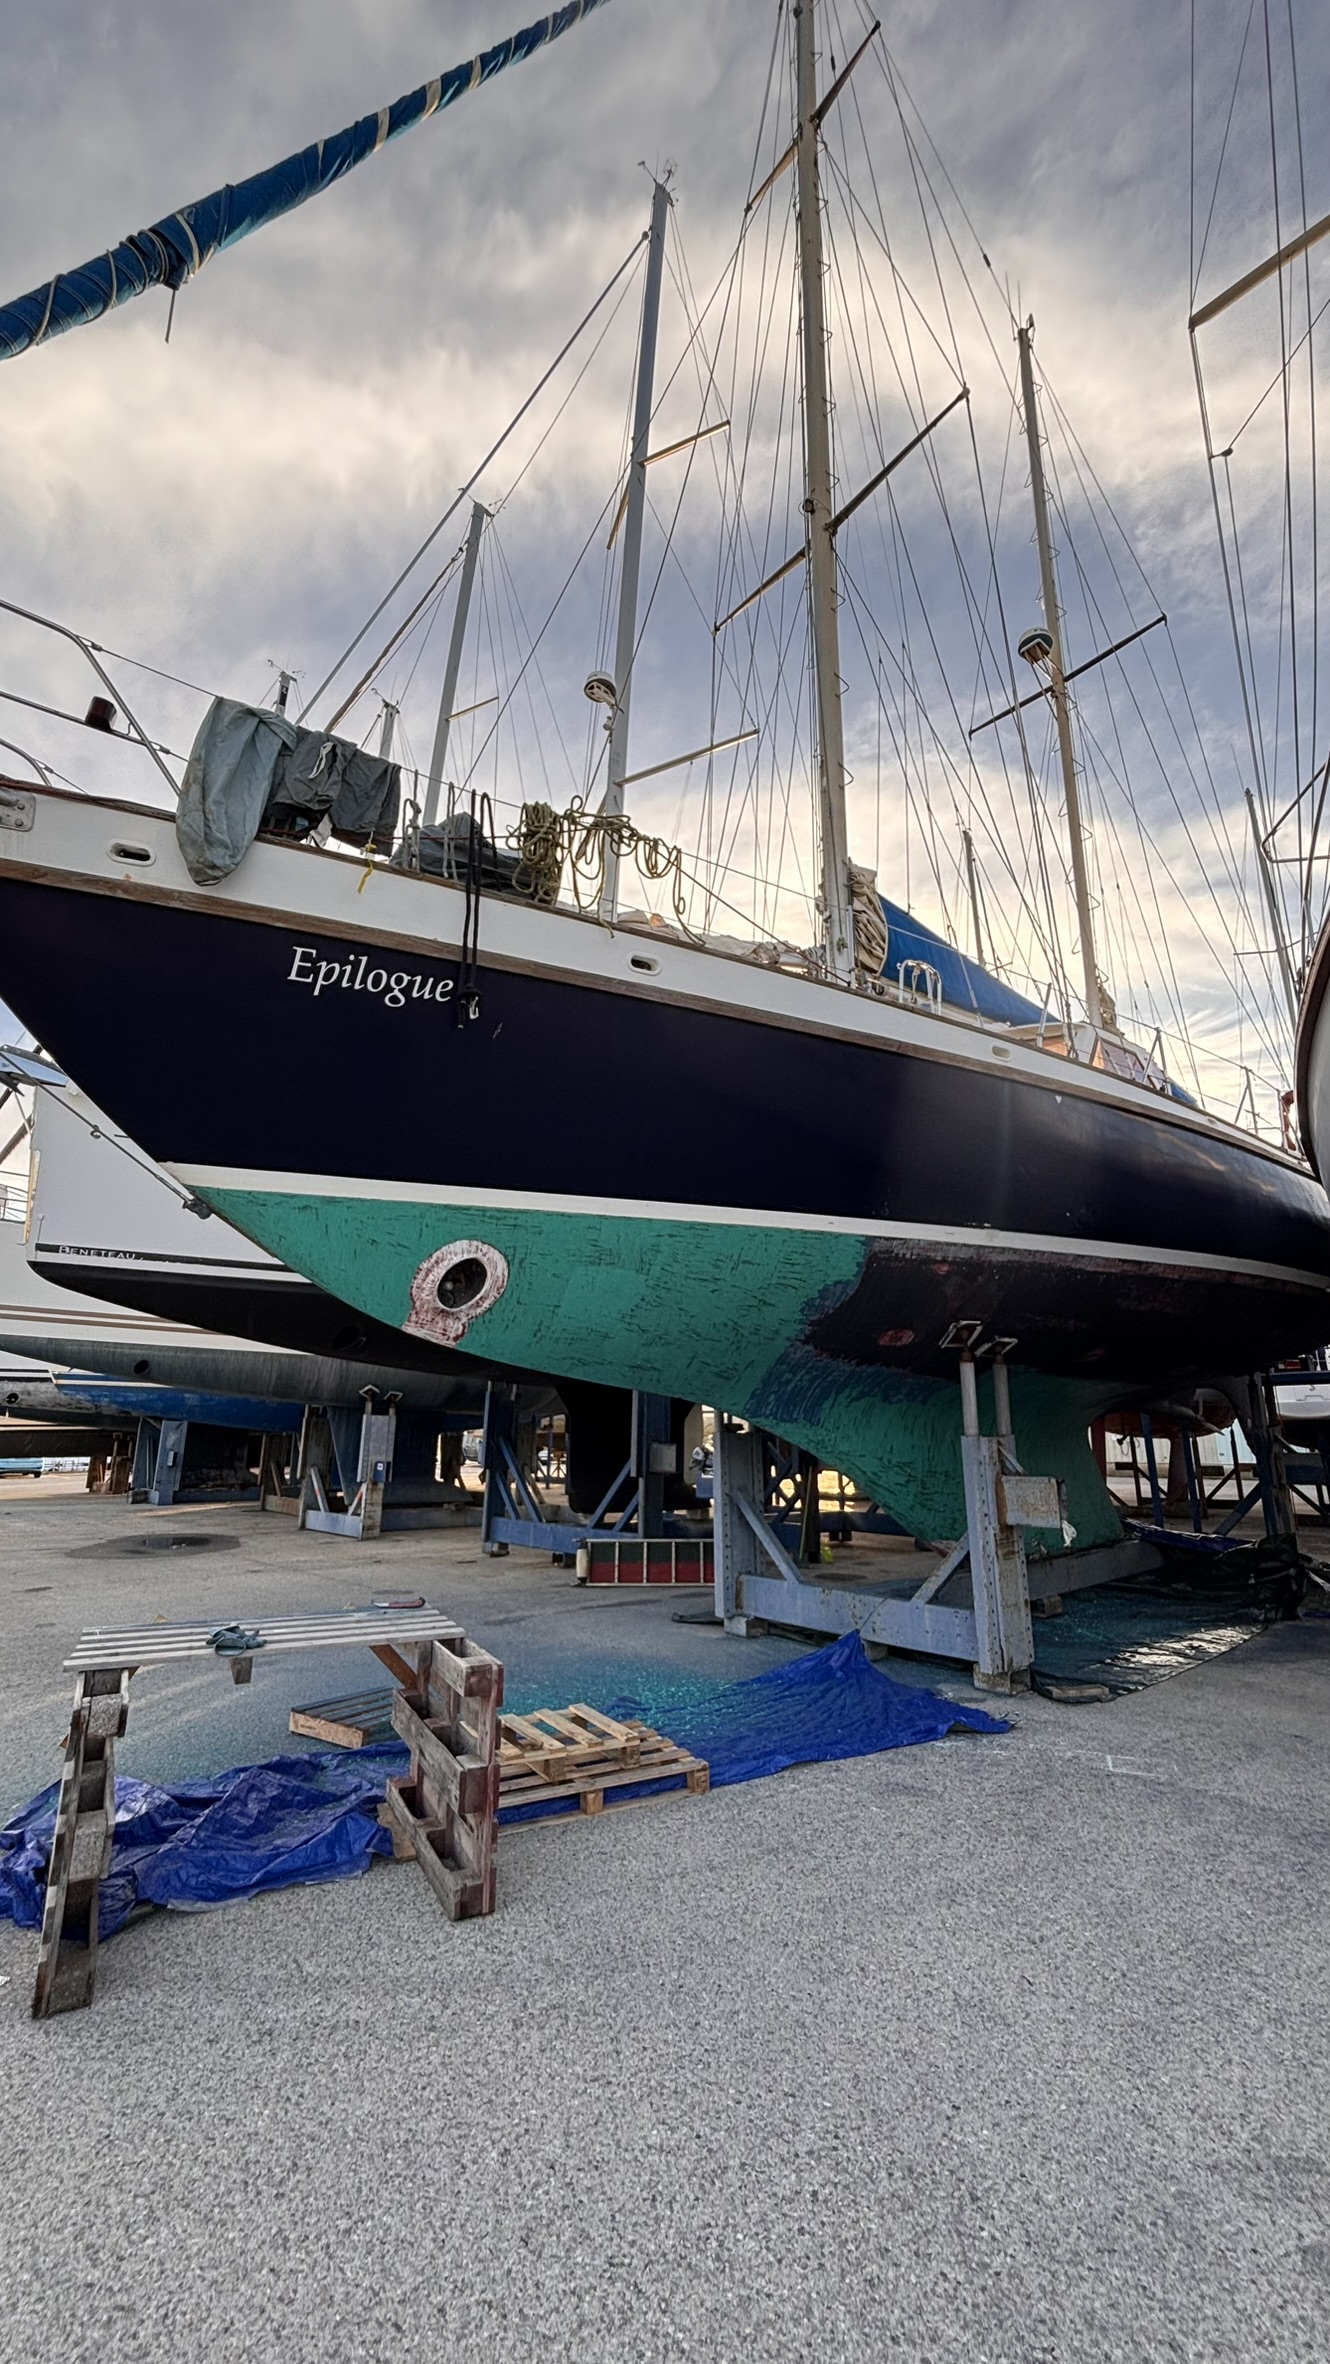
    That one was a finishing weekend. The end of scraping the antifouling off the Mikado’s hull, a job I had been dragging out for weeks, piece by piece, side by side. This time I had decided: I was not going home without seeing the end of it.

    Friday evening, alone on board

    I get there at eight on the Friday. Lucas is away this weekend. Pasta with butter, the meal of the unbothered, and I take stock. The hull is waiting for me. Taunting me, even.

    The plan is simple on paper: scrape on Saturday, sand on Sunday morning, leave with something clean behind me. Except it is going to rain. There is wind. And I am probably coming down with something.

    Never mind. We go anyway.

    Saturday: eight hours of scraping in the rain

    Five in the morning on Sunday is the F1 Grand Prix. So on Saturday I sleep well, eat well, and scrape as much as I can.

    I start with the hardest part — the high area, arms above my shoulders, an awkward scraping angle. The logic is to do the worst of it while you still have energy. The lower part is easier to get at, the angle is good, it goes faster. I save that for when my arms start to give out.

    By 11:30 I have put in two and a half hours on a decent area. It is raining. I carry on. In the afternoon I take on the stern and the propeller boss, geometrically the most miserable areas. At 18:18 the stern is done.

    Tally for the day: about eight hours of scraping. Bruises on my arms, mosquitoes, intermittent cold rain, and a hull three-quarters bare. Back to the boat, shower, crisps, something on a screen, bed.

    Sunday, 5 a.m.: F1, then back into it

    The alarm goes off for the Grand Prix. I half fall asleep again. At eight I eat something and go back out.

    The bow section is left — the toughest, from what I saw the day before. The blue holds on harder here. The wind gets up, a storm is forecast. I speed up.

    At 11:10, it is finished.

    I stand back to look at the whole hull. No antifouling. The laminate is there, bare, over the whole length of the boat. It is one of those moments when you want to say a rude word very loudly and very clearly.

    What it actually changes

    A fully scraped hull is not just a cosmetic stage. It is the condition for everything that follows: the osmosis treatment, the epoxy, and then fitting the Finsulate. As long as the antifouling is there, nothing clean can be done underneath.

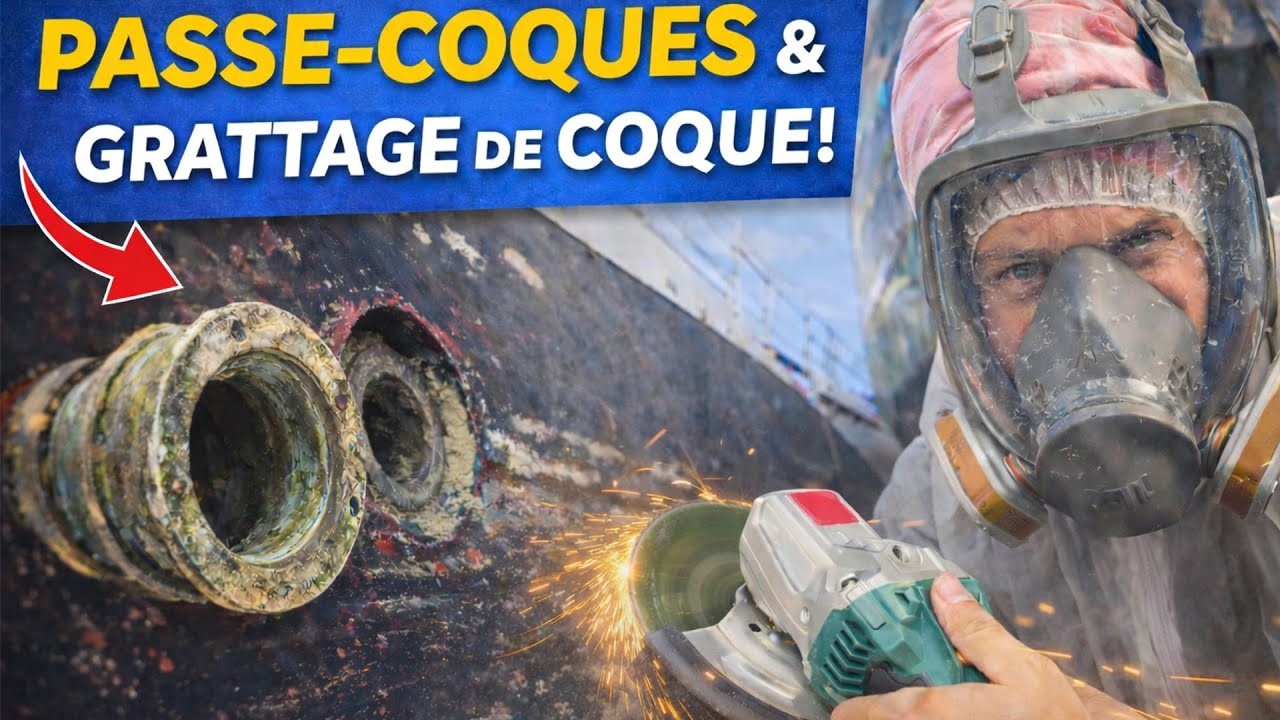
    I also used the weekend to take out the galley skin fitting — it had to go so I could scrape properly in that area. Next week the aim is to come back with epoxy filler to fill the old housing, and prepare for the new one. The epoxy follows after that.

    What this weekend taught me (again)

    Working alone on a big physical job is as much a mental exercise as a physical one. Nobody there to spur you on, nobody to take over. Just the work in front of you and the question of whether you are the sort who finishes what they start.

    This weekend, I have the answer.

    Next time we meet here, we move on to something else. The hull is behind us.

  • Replacing the skin fittings and seacocks on an old sailboat: the job that decides a boat’s fate

    Replacing the skin fittings and seacocks on an old sailboat: the job that decides a boat’s fate

    The video is in French. The whole job is written up in English below.

    There is work that shows, that is rewarding, almost “instagrammable”. And then there is the work nobody ever sees… that can decide the fate of a boat.

    That weekend, on CQS Evidence, our 1979 Mikado, we started on an essential job: taking out the skin fittings and the seacocks. What we found reminded us of something simple: on a sailboat, safety starts below the waterline.

    ⚓️ Skin fittings: small parts, enormous responsibility

    What is a skin fitting? Quite simply an opening straight through the hull that lets water in or out:

    • sink drains
    • heads
    • engine water intake
    • cockpit drains
    • and so on

    Each skin fitting has a seacock on it, which lets you shut the water off.

    They are literally holes in the boat. And when you are sailing, they are below the waterline.

    If a skin fitting breaks or cracks, or a seacock gives way, water comes in. And it comes in fast.

    That is why skin fittings are treated as major items of safety equipment on a sailboat.

    🔍 The state of ours: corrosion, and concern

    Taking the first seacocks off, we realised we had been right not to wait.

    The parts were:

    • rusted,
    • marked by time,
    • and some of them badly corroded.

    On a 1979 boat like ours, with a GRP hull but all the original skin fittings and seacocks in metal, that sort of surprise is sadly not rare: it is not the hull that ages badly, it is the parts that go through it, attacked by decades of damp, salt water and electrolysis.

    Some seacocks were stiff to work. Others showed clear signs of metal fatigue.

    And that is when you realise something fairly simple: this is not a question of appearance. It is a question of safety.

    A weakened skin fitting can become a critical point of failure. And at sea, you do not want any doubt about that kind of component.

    🔧 Taking them out: not simple, but necessary

    Removing skin fittings several decades old is not a quick job.

    Between:

    • the oxidation,
    • the seized threads,
    • the seals glued in place by time,
    • and access that is sometimes awkward,

    it took patience.

    But every part that came out was a relief. One source of risk removed. Back onto sound ground.

    🛠️ Sanding and preparation: starting from a clean base

    Once the skin fittings were out, we carried on preparing the hull.

    On the list:

    • sanding the areas concerned,
    • cleaning,
    • inspecting the surfaces.

    On an old sailboat, nothing is ever perfectly simple. Every layer you take off tells you about a period in the boat’s life.

    But this groundwork is essential if you want to:

    • make the boat dependable,
    • prepare a refit that lasts,
    • avoid nasty surprises under way.

    ⚠️ Why skin fittings are an absolute point of vigilance on an old sailboat

    Many owners put this job off because it does not show. And yet it is one of the first things to check when buying a sailboat.

    Over time:

    • brass can dezincify,
    • steel parts can rust,
    • seacocks can seize,
    • electrolysis can weaken the metals.

    A skin fitting in poor condition can give way without warning.

    And unlike an electrical fault or a cosmetic problem, a leak below the waterline is an immediate emergency.

    On CQS Evidence we made a clear choice: we would rather replace too early than too late.

    🌊 Building confidence before building the voyage

    That weekend was not spectacular. No open sea, no full sails, no cinematic sunset.

    But it was a founding weekend.

    Because sailing far is not only about dreaming. It is about making sure every critical component is dependable.

    Taking those corroded skin fittings out, we did not just remove some metal parts. We made the boat safer. We laid one more brick in the project.

    ⛵️ Step by step

    Our aim is not to set off across oceans tomorrow. It is to build a safe, solid, coherent boat.

    Clear out. Modernise the electrics. Replace the critical parts. Prepare the hull.

    Every weekend of work brings us closer to a more dependable boat. And to calmer sailing.

    Because in the end, real freedom at sea starts with safety.

    The full ten-step method, with the parts and the costs, is in the guide: replacing the skin fittings and seacocks on an old sailboat.

  • First jobs on CQS Evidence: clearing out, lithium batteries and stripping the hull

    First jobs on CQS Evidence: clearing out, lithium batteries and stripping the hull

    The video is in French. The whole job is written up in English below.

    Once the boat was bought, one thing was certain: before sailing, we had to get our hands into her. Those first weeks aboard CQS Evidence, our 1979 Mikado, went on a stage no sailboat refit escapes: clearing out, understanding, modernising and preparing the boat.

    This piece covers our first jobs: getting the boat organised, rebuilding the battery bank completely, bringing the electrical system up to standard, and starting the big job on the hull.

    ⚓️ First step: clear out and take possession of the boat

    Before getting the tools out, we had to do something very simple… and essential: clear the boat out.

    An old sailboat, especially after several owners, accumulates:

    • forgotten gear,
    • duplicate parts,
    • cables going nowhere obvious,
    • things kept “just in case”.

    Clearing, sorting, throwing out and filing let us:

    • understand the boat better,
    • see the actual volumes,
    • work out what still functioned,
    • spot the jobs to come.

    It is an unspectacular stage, but essential if you want to start from a sound base.

    🔋 Swapping the lead-acid batteries for LiFePO4 lithium

    One of the first real technical jobs was replacing the battery bank.

    Originally, CQS Evidence had:

    • 2 lead-acid batteries, 12 V – 230 Ah

    A classic set-up, but:

    • heavy,
    • ageing,
    • poorly suited to our future use (autonomy, solar, comfort on board).

    We decided to move to:

    • 2 LiFePO4 lithium batteries, 12 V – 300 Ah

    Why that choice?

    • more usable capacity,
    • faster recharging,
    • a far longer service life,
    • less weight,
    • a perfect match for solar generation.

    A genuine upgrade for a boat meant for voyaging.

    ⚠️ Changing the battery charger: not optional

    We very quickly spotted a critical point: the existing battery charger was not lithium-compatible.

    LiFePO4 batteries need:

    • specific charge curves,
    • precise voltages,
    • careful management of the end of charge.

    So we had to:

    • change the battery charger,
    • move to a model compatible with lithium-ion / LiFePO4.

    It is a common mistake when moving to lithium: keeping a lead-acid charger can damage the batteries.

    🔌 Making the electrical installation safe and better (Victron Energy)

    To make the whole system dependable, we added several key pieces of equipment.

    🔸 Victron Battery Balancer

    We fitted a Victron battery balancer to:

    • balance the voltages between the two batteries,
    • avoid imbalance in a series/parallel arrangement,
    • protect the life of the bank.

    🔸 Victron SmartShunt

    A new Victron SmartShunt also went in, to:

    • track consumption precisely,
    • know the real state of charge,
    • monitor voltages and currents over Bluetooth / the app.

    ☀️ Victron solar regulator

    Finally we added a brand new Victron solar regulator, ready for our future solar installation.

    The aim: more energy autonomy at anchor and under way.

    🚨 The key point: charge the batteries to 100% before fitting them

    This is probably the most important lesson of the job.

    We had some imbalance trouble at the start… and worked out why: lithium batteries have to be fully charged BEFORE installation.

    Why?

    • to equalise the voltages exactly,
    • to stop one battery working harder than the other,
    • to guarantee proper balancing from the start.

    Fitting partly charged LiFePO4 batteries can lead to:

    • imbalance,
    • a bad reading on the SmartShunt,
    • premature wear.

    A simple step, but a crucial one.

    🛠️ Starting on the hull: taking off the old antifouling

    With the electrics made safe, on to the outside job: the hull.

    🎯 The aim

    • remove all of the old antifouling,
    • start again from a clean, sound base.

    ❌ The sanding attempt

    We first tried sanding… mission impossible.

    The antifouling was:

    • too thick,
    • too old,
    • too hard.

    ✅ The answer: the scraper

    So we went for a more effective method:

    • the scraper

    The result:

    • it moves along well,
    • less dust,
    • more precise,
    • kinder to the hull.

    It is long, physical, repetitive… and very satisfying. Every area stripped is a win.

    🌊 Conclusion: solid foundations for what comes next

    These first jobs mark the real start of the CQS Evidence adventure.

    • The boat is cleared out
    • The electrical system is modernised
    • The battery bank is ready for the voyage
    • The hull has begun its transformation

    There is an enormous amount left to do, but every stage brings us closer to the aim: a dependable, self-sufficient boat, ready to sail for a long time.

    In the next pieces we will cover the rest of the hull job, the full solar installation, the first sailing — and of course the trouble too.

  • Our 1979 Mikado: the story, the refit and the start of CQS Evidence

    Our 1979 Mikado: the story, the refit and the start of CQS Evidence

    There are decisions that look a little mad… and are obvious all the same.

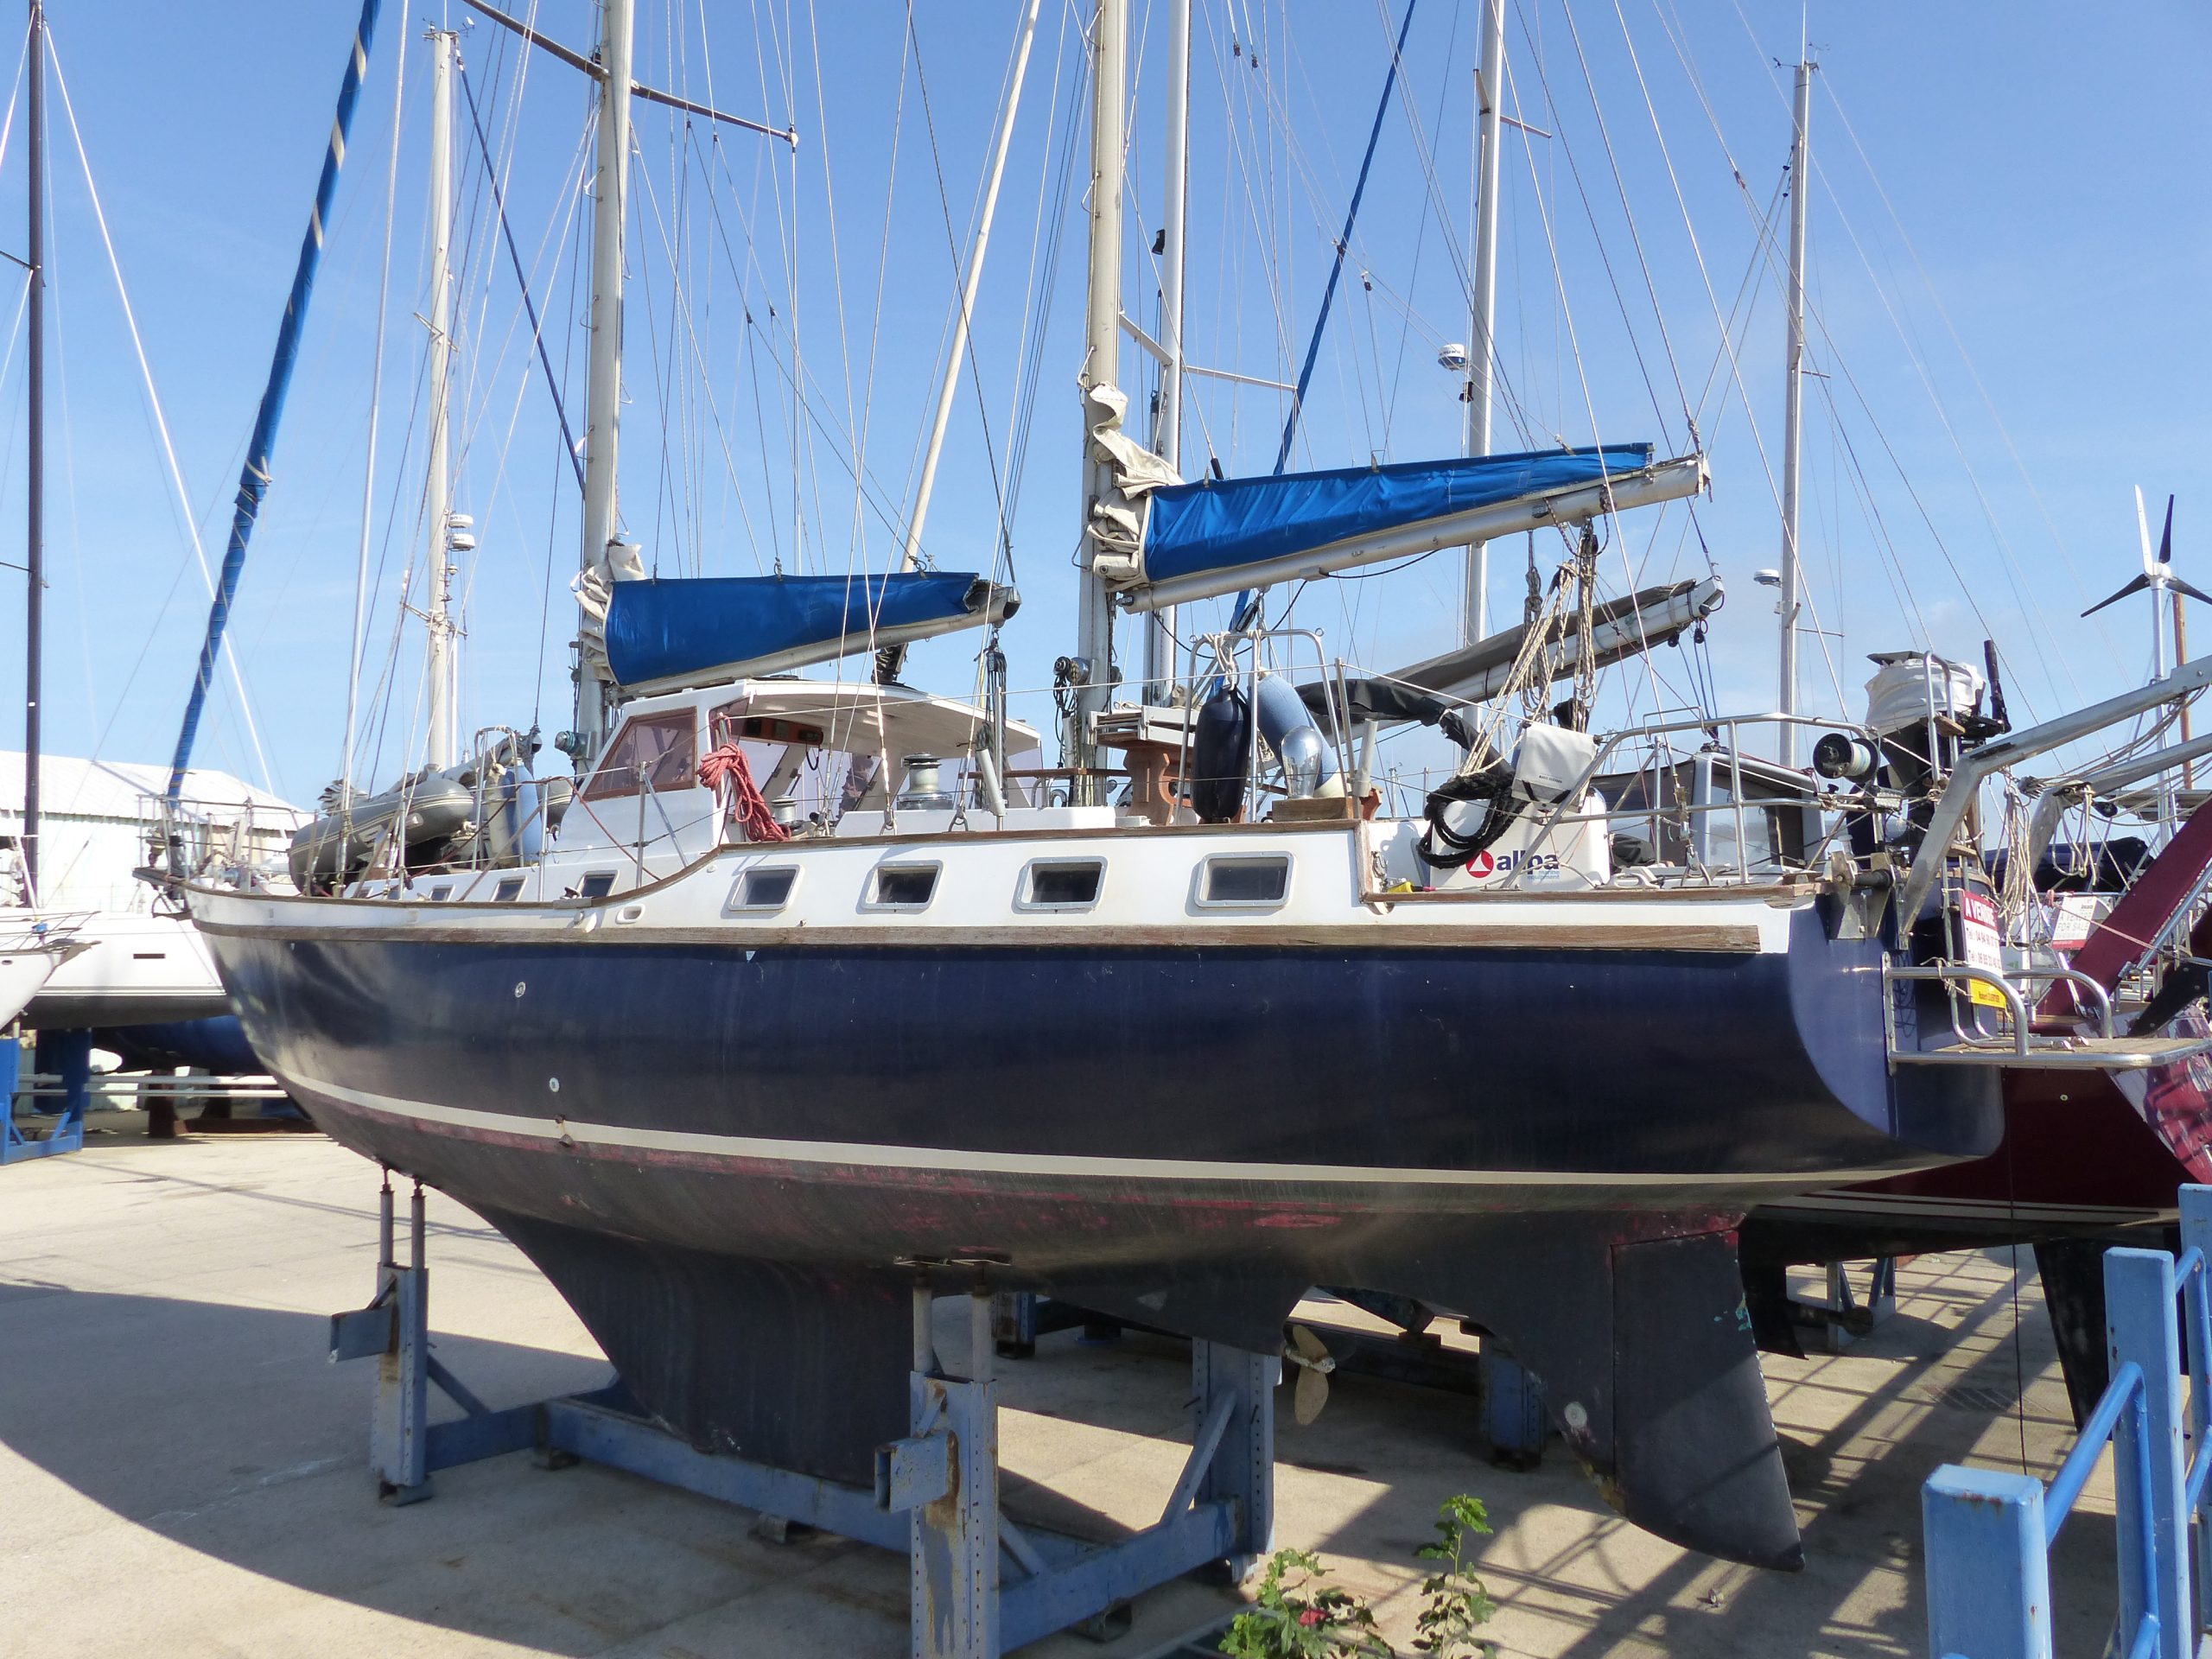
    And at the heart of this one there is her: CQS Evidence, a 1979 Mikado, 16 metres of length, of history… and of potential.

    For us it all started the day we decided to let the sea into our lives. Not by walking away from everything, not by leaving for the far side of the world on a whim, but by building something for the long run: learn to sail, rebuild a boat, and travel differently.

    We called the project Les routes de l’Évidence — the obvious routes.

    A simple, patient, lasting project

    Contrary to what you might think, our aim is not to give everything up for a life at sea.

    We carry on with our lives ashore, but we want the sea to be part of them from now on.

    Our idea fits in three words: learn, rebuild, travel.

    • Learn to sail, at our own pace
    • Rebuild a solid boat, one that can take us a long way
    • Travel slowly, taking the time to understand what is around us

    CQS Evidence is not a way of escaping everyday life. It is a way of enriching it, of making a space of freedom where you move at your own speed, guided by the wind, the weather and your own curiosity.

    Why sailing? The case for travelling slowly

    We chose sailing for what it stands for:

    • freedom,
    • frugality,
    • respect for nature,
    • and humility.

    To sail is to accept depending on the wind, the sea, and time passing.

    It means learning every day, reading your own weather, fixing things, adjusting, improving. Nothing is ever settled, and that is exactly what draws us.

    In a world that moves fast, sailing offers the opposite: a slow, honest journey that leaves room for what matters.

    Choosing the boat: why a 1979 Mikado?

    When we started looking for our boat, we knew we wanted something solid. A boat that could stand up to the sea, sail a long way, and above all a boat with a soul.

    For weeks we visited, compared, searched.

    And one day we came across her: a 1979 Mikado, built in an era when robustness and safety came before outright performance.

    What convinced us:

    • a sound, thick GRP hull,
    • serious marine construction,
    • the volume,
    • her reputation as a long-distance cruiser,
    • and quite simply her character.

    She had lived, that much was obvious. But behind the flaking paint and the years, you could feel something. A presence. A history.

    A boat asking to go again.

    CQS Evidence: a name, and what is behind it

    CQS stands for Claro Que Sí, the name of our first adventure: a Renault 4 in the 4L Trophy.

    A nod to a simple philosophy: of course we can.

    “Evidence”, because this project imposed itself naturally — in French, une évidence is something self-evident.

    Because this boat, despite her age, despite the work, was exactly what we were looking for — even before we knew it.

    CQS Evidence is a mixture of passion, instinct and stubbornness.

    The negotiation and the purchase: excitement and vertigo

    Buying an old sailboat is never a small thing.

    You visit, you discuss, you worry, you dream.

    You go from elation to doubt, then from doubt to conviction.

    That is what happened to us.

    The more we got to know this Mikado, the more we realised she ticked every box:

    • the size,
    • the potential,
    • the strength,
    • and even her history.

    When the moment came to sign, we had the vertigo anyone starting something big will recognise.

    But also that strange certainty that we were exactly where we were meant to be.

    And now? Work, learning and the first miles

    The coming months will be taken up with:

    • rebuilding the boat,
    • a great deal of hands-on work,
    • learning to sail,
    • and our first trips in the Mediterranean.

    We have no ambition to cross oceans tomorrow.

    The project is built over several years, stage by stage, with patience and with passion.

    We want to share every side of it:

    • what works,
    • the trouble,
    • the work itself,
    • the progress,
    • and of course the places.

    Welcome aboard CQS Evidence

    This is the start of a long story.

    The first chapter of a project that will change, grow, and change us.

    We hope a good many of you will follow along, through our work, our sailing, what we find, and everything we live aboard CQS Evidence.

    Thank you for being here, and welcome aboard.

    Of course yes — the rest of it is going to be good.