
The video is in French. The whole job is written up in English below.
Once the boat was bought, one thing was certain: before sailing, we had to get our hands into her. Those first weeks aboard CQS Evidence, our 1979 Mikado, went on a stage no sailboat refit escapes: clearing out, understanding, modernising and preparing the boat.
This piece covers our first jobs: getting the boat organised, rebuilding the battery bank completely, bringing the electrical system up to standard, and starting the big job on the hull.
⚓️ First step: clear out and take possession of the boat
Before getting the tools out, we had to do something very simple… and essential: clear the boat out.
An old sailboat, especially after several owners, accumulates:
- forgotten gear,
- duplicate parts,
- cables going nowhere obvious,
- things kept “just in case”.
Clearing, sorting, throwing out and filing let us:
- understand the boat better,
- see the actual volumes,
- work out what still functioned,
- spot the jobs to come.
It is an unspectacular stage, but essential if you want to start from a sound base.
🔋 Swapping the lead-acid batteries for LiFePO4 lithium
One of the first real technical jobs was replacing the battery bank.
Originally, CQS Evidence had:
- 2 lead-acid batteries, 12 V – 230 Ah
A classic set-up, but:
- heavy,
- ageing,
- poorly suited to our future use (autonomy, solar, comfort on board).
We decided to move to:
- 2 LiFePO4 lithium batteries, 12 V – 300 Ah
Why that choice?
- more usable capacity,
- faster recharging,
- a far longer service life,
- less weight,
- a perfect match for solar generation.
A genuine upgrade for a boat meant for voyaging.
⚠️ Changing the battery charger: not optional
We very quickly spotted a critical point: the existing battery charger was not lithium-compatible.
LiFePO4 batteries need:
- specific charge curves,
- precise voltages,
- careful management of the end of charge.
So we had to:
- change the battery charger,
- move to a model compatible with lithium-ion / LiFePO4.
It is a common mistake when moving to lithium: keeping a lead-acid charger can damage the batteries.
🔌 Making the electrical installation safe and better (Victron Energy)
To make the whole system dependable, we added several key pieces of equipment.
🔸 Victron Battery Balancer
We fitted a Victron battery balancer to:
- balance the voltages between the two batteries,
- avoid imbalance in a series/parallel arrangement,
- protect the life of the bank.
🔸 Victron SmartShunt
A new Victron SmartShunt also went in, to:
- track consumption precisely,
- know the real state of charge,
- monitor voltages and currents over Bluetooth / the app.
☀️ Victron solar regulator
Finally we added a brand new Victron solar regulator, ready for our future solar installation.
The aim: more energy autonomy at anchor and under way.
🚨 The key point: charge the batteries to 100% before fitting them
This is probably the most important lesson of the job.
We had some imbalance trouble at the start… and worked out why: lithium batteries have to be fully charged BEFORE installation.
Why?
- to equalise the voltages exactly,
- to stop one battery working harder than the other,
- to guarantee proper balancing from the start.
Fitting partly charged LiFePO4 batteries can lead to:
- imbalance,
- a bad reading on the SmartShunt,
- premature wear.
A simple step, but a crucial one.
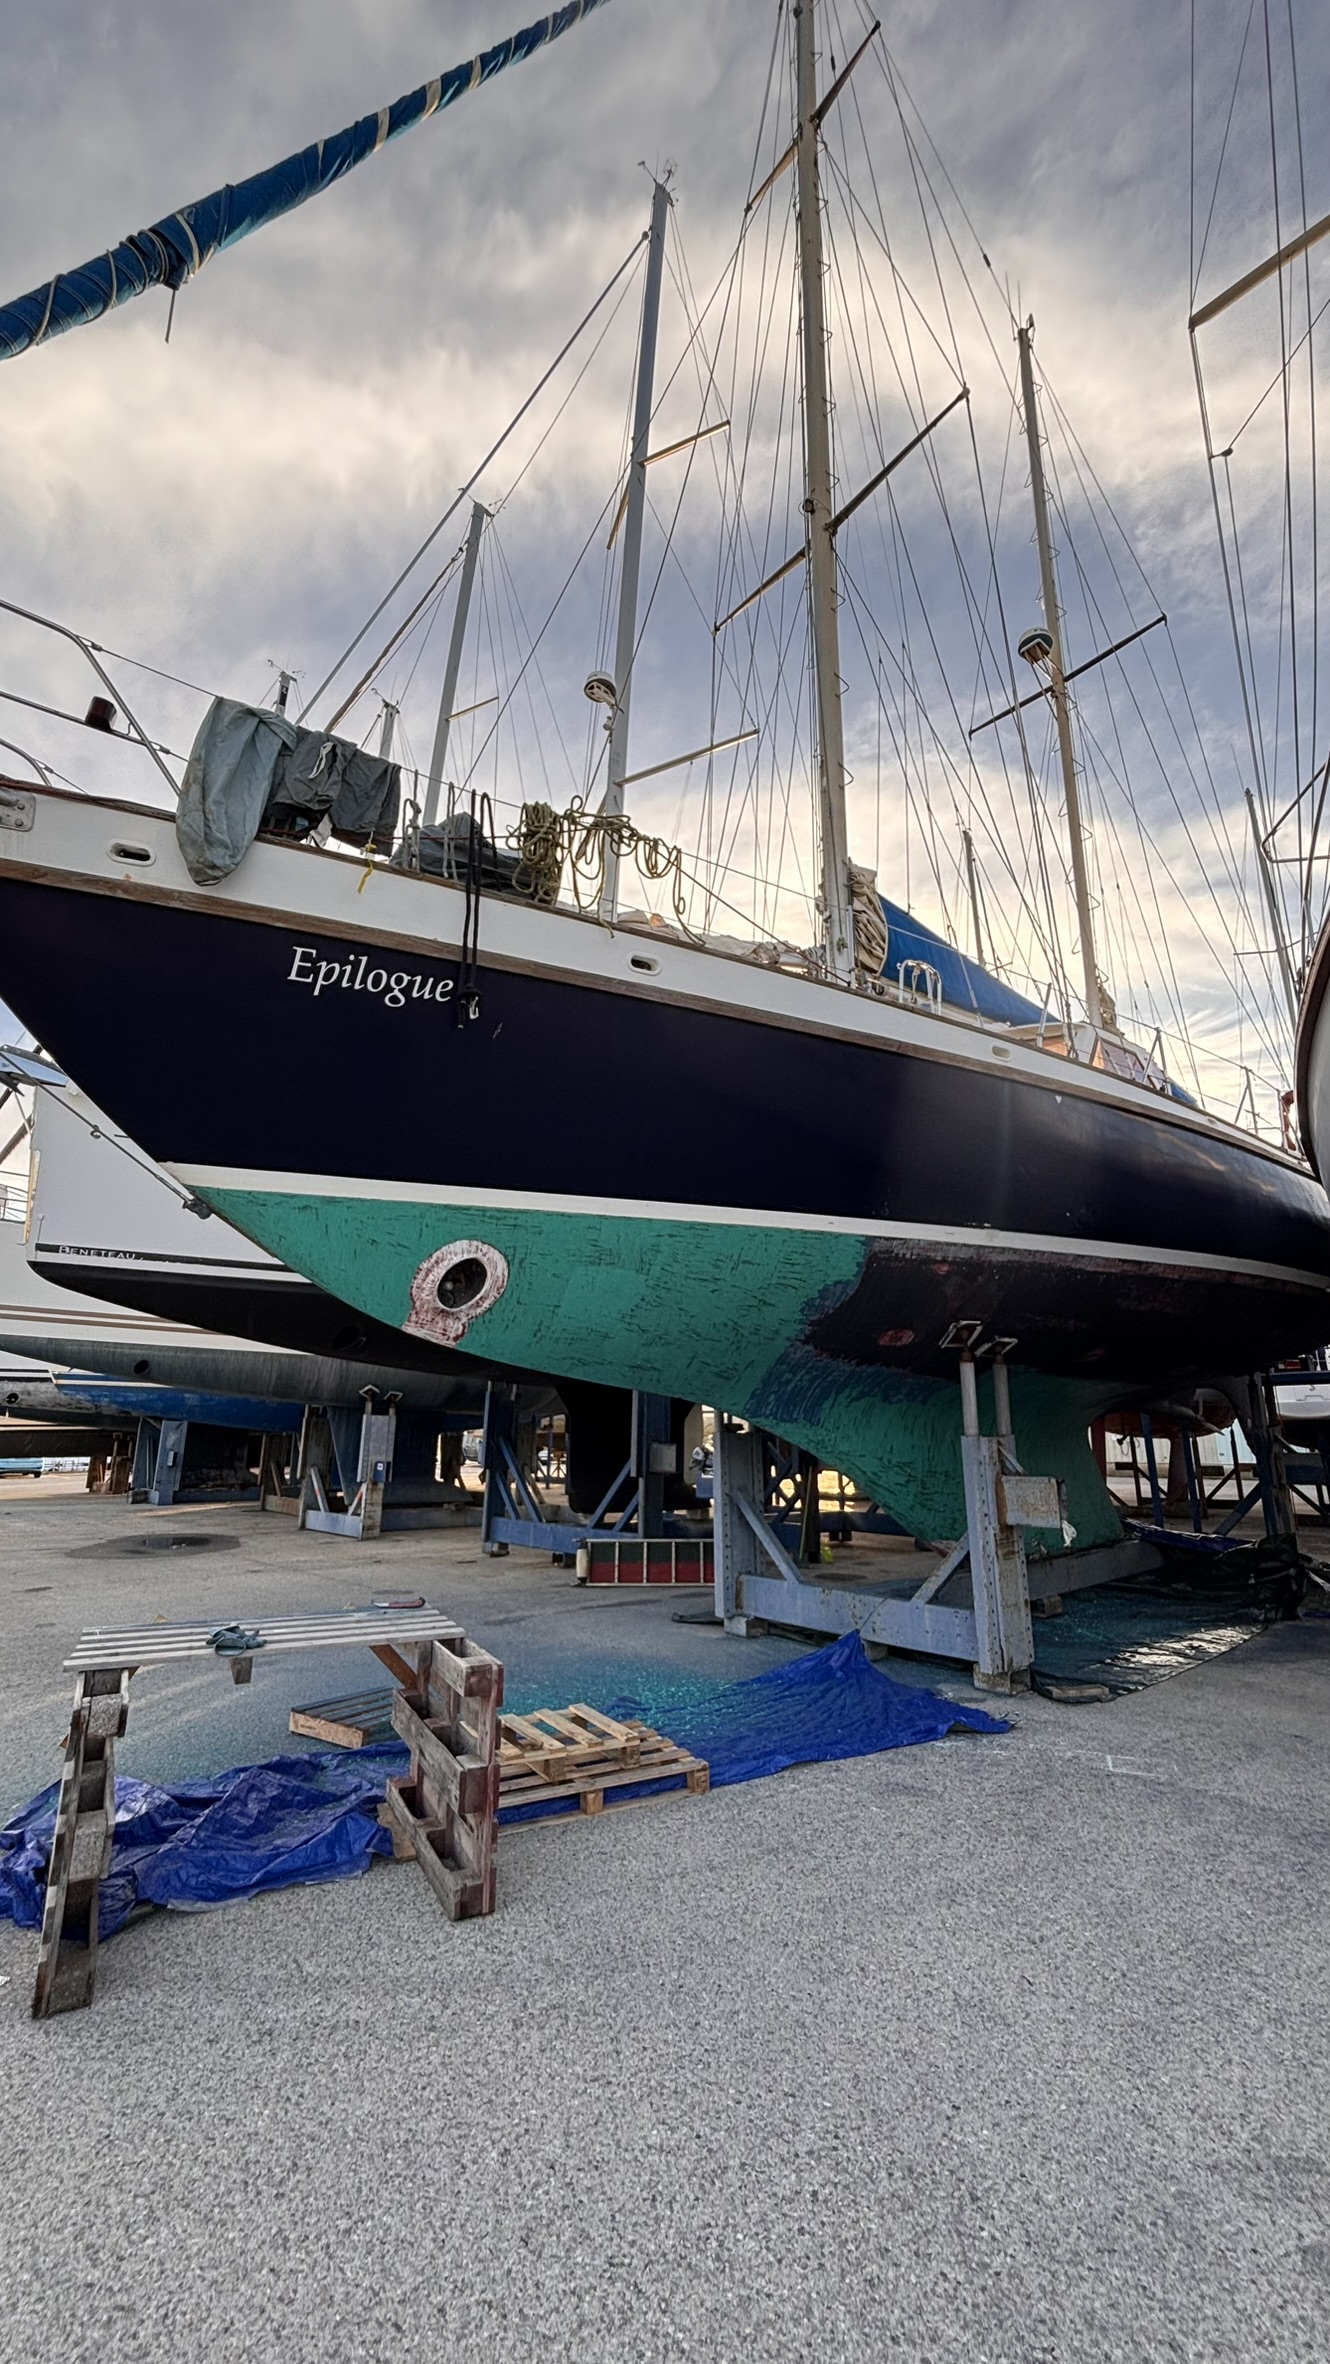
🛠️ Starting on the hull: taking off the old antifouling
With the electrics made safe, on to the outside job: the hull.
🎯 The aim
- remove all of the old antifouling,
- start again from a clean, sound base.
❌ The sanding attempt
We first tried sanding… mission impossible.
The antifouling was:
- too thick,
- too old,
- too hard.
✅ The answer: the scraper
So we went for a more effective method:
- the scraper
The result:
- it moves along well,
- less dust,
- more precise,
- kinder to the hull.
It is long, physical, repetitive… and very satisfying. Every area stripped is a win.
🌊 Conclusion: solid foundations for what comes next
These first jobs mark the real start of the CQS Evidence adventure.
- The boat is cleared out
- The electrical system is modernised
- The battery bank is ready for the voyage
- The hull has begun its transformation
There is an enormous amount left to do, but every stage brings us closer to the aim: a dependable, self-sufficient boat, ready to sail for a long time.
In the next pieces we will cover the rest of the hull job, the full solar installation, the first sailing — and of course the trouble too.